Cosplay Bewbs
Live Chat
Cute Asians
Cosplay For Everyone
Big Boobs Cosplay
Cawwsplay
CosplayNation
Drawing
BaldursGate3
Biancakariina
Open Chat
Source
Share
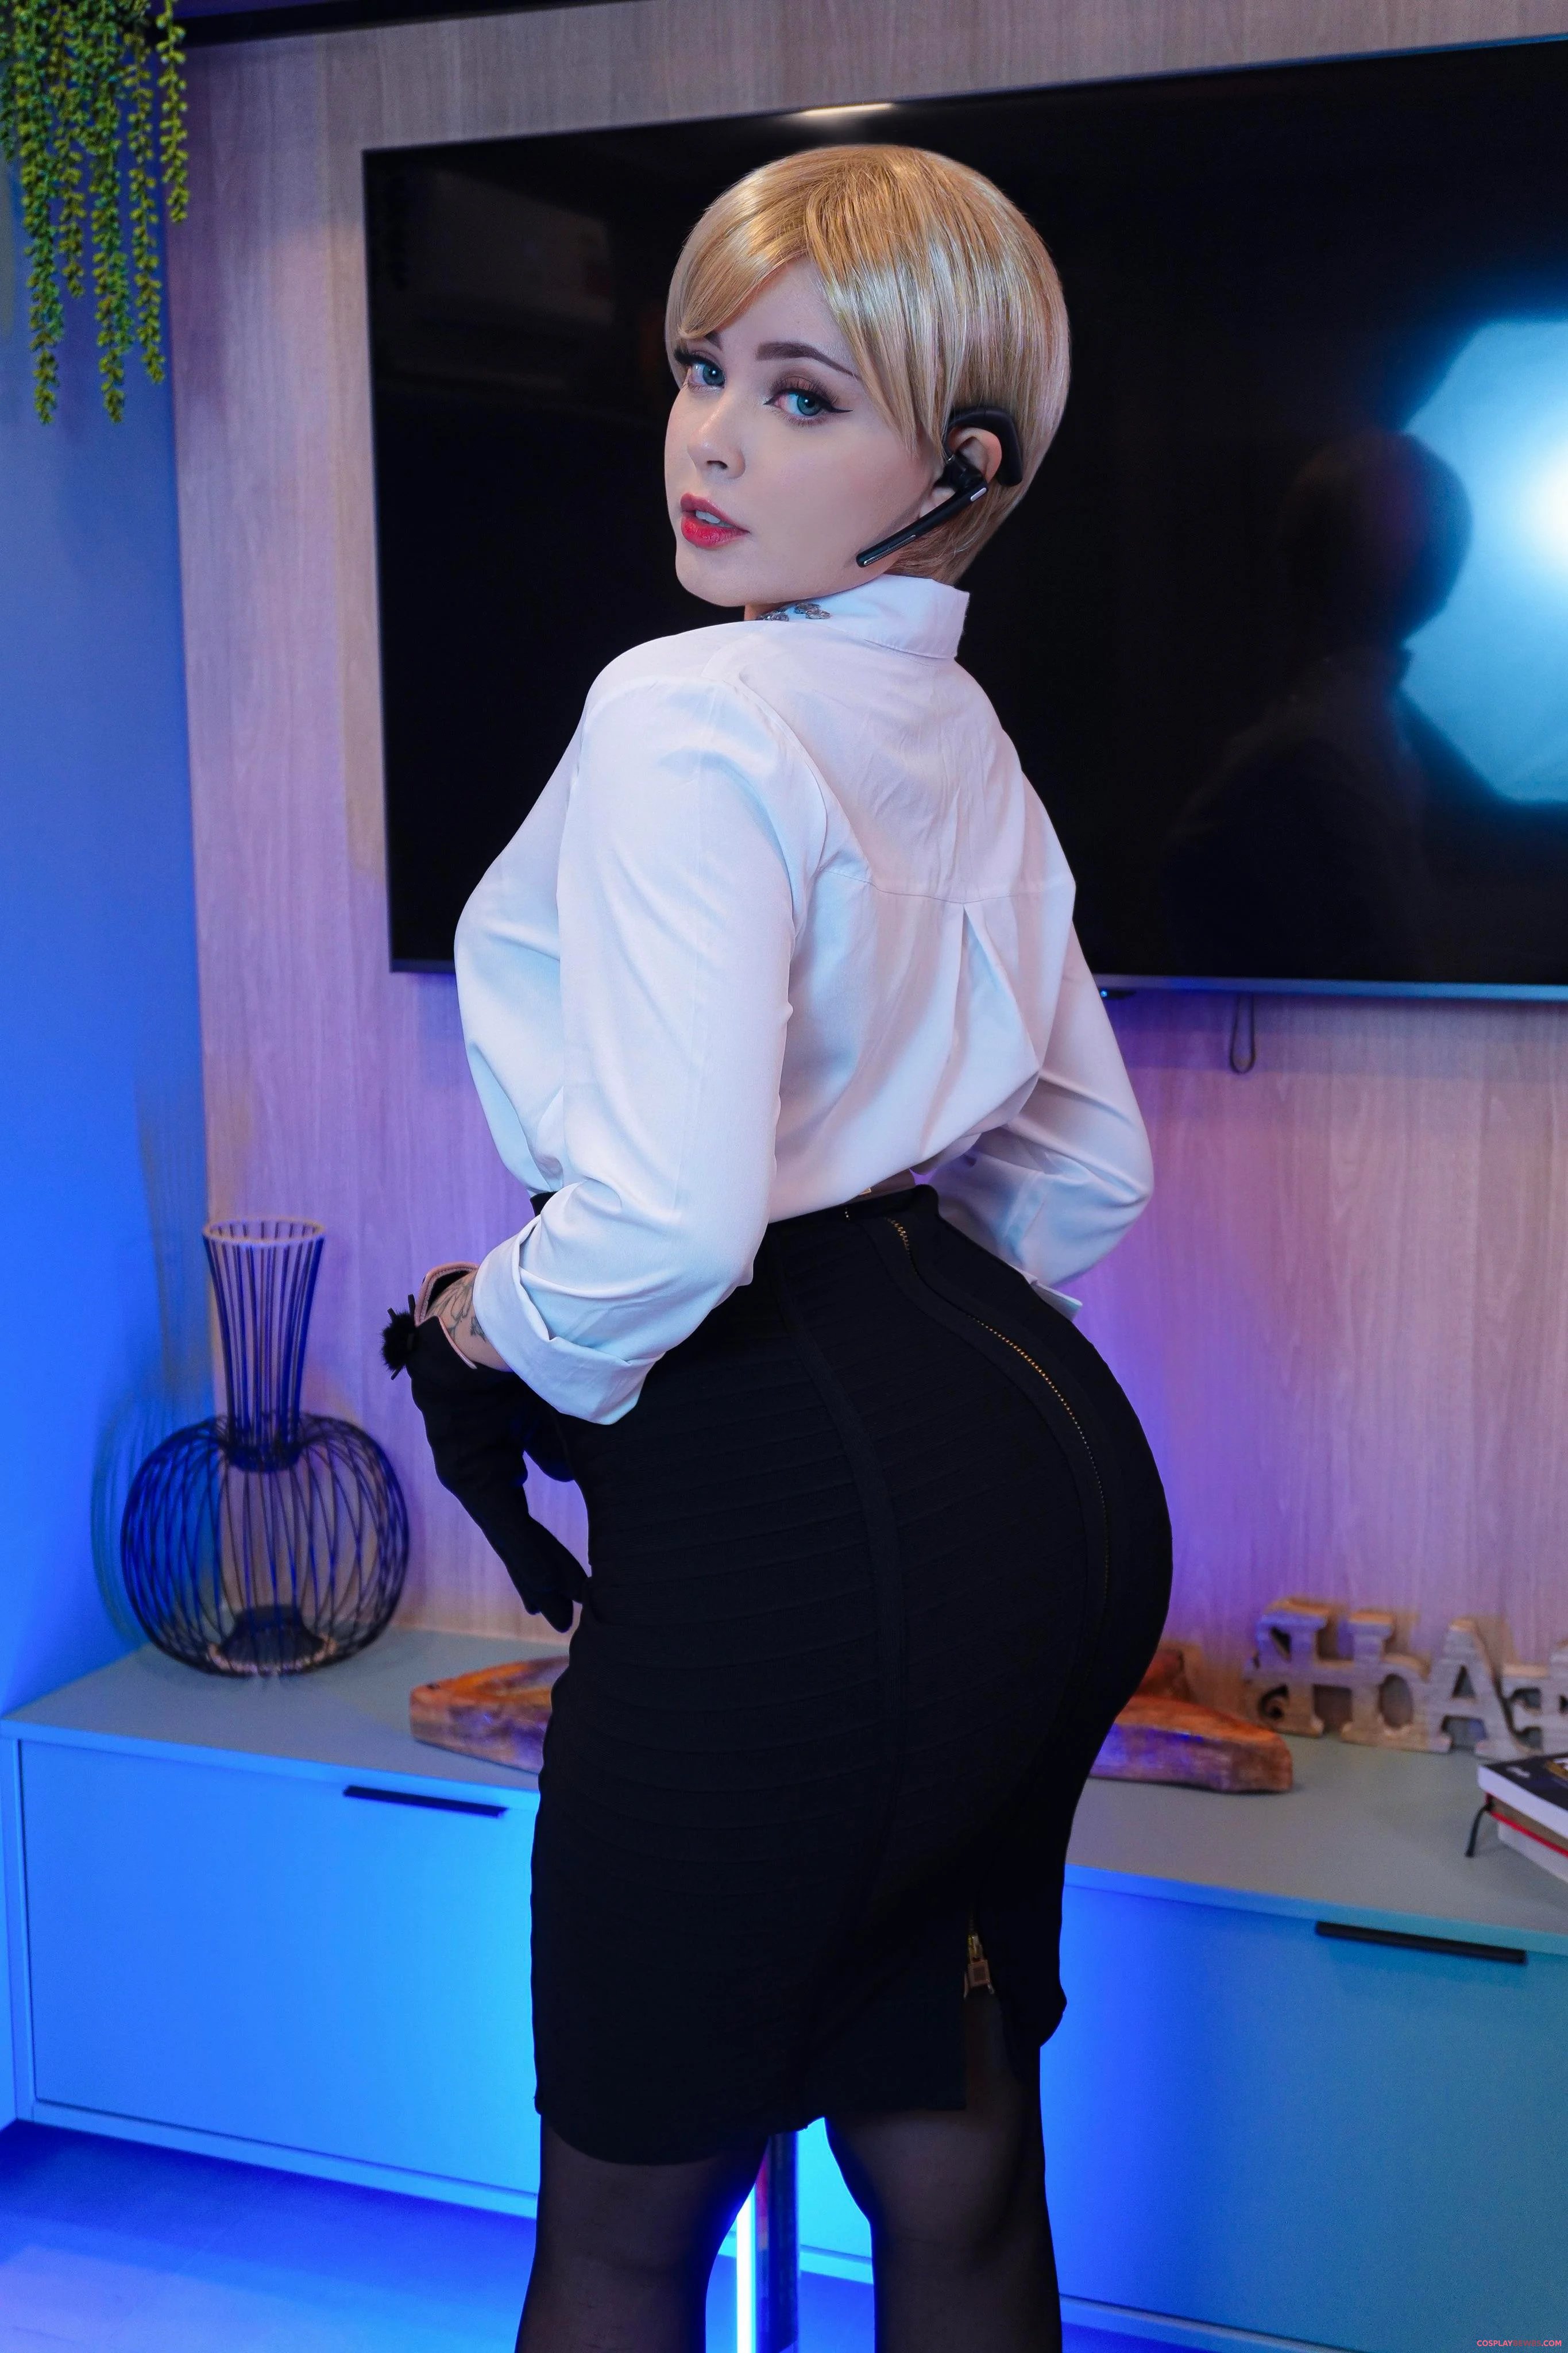
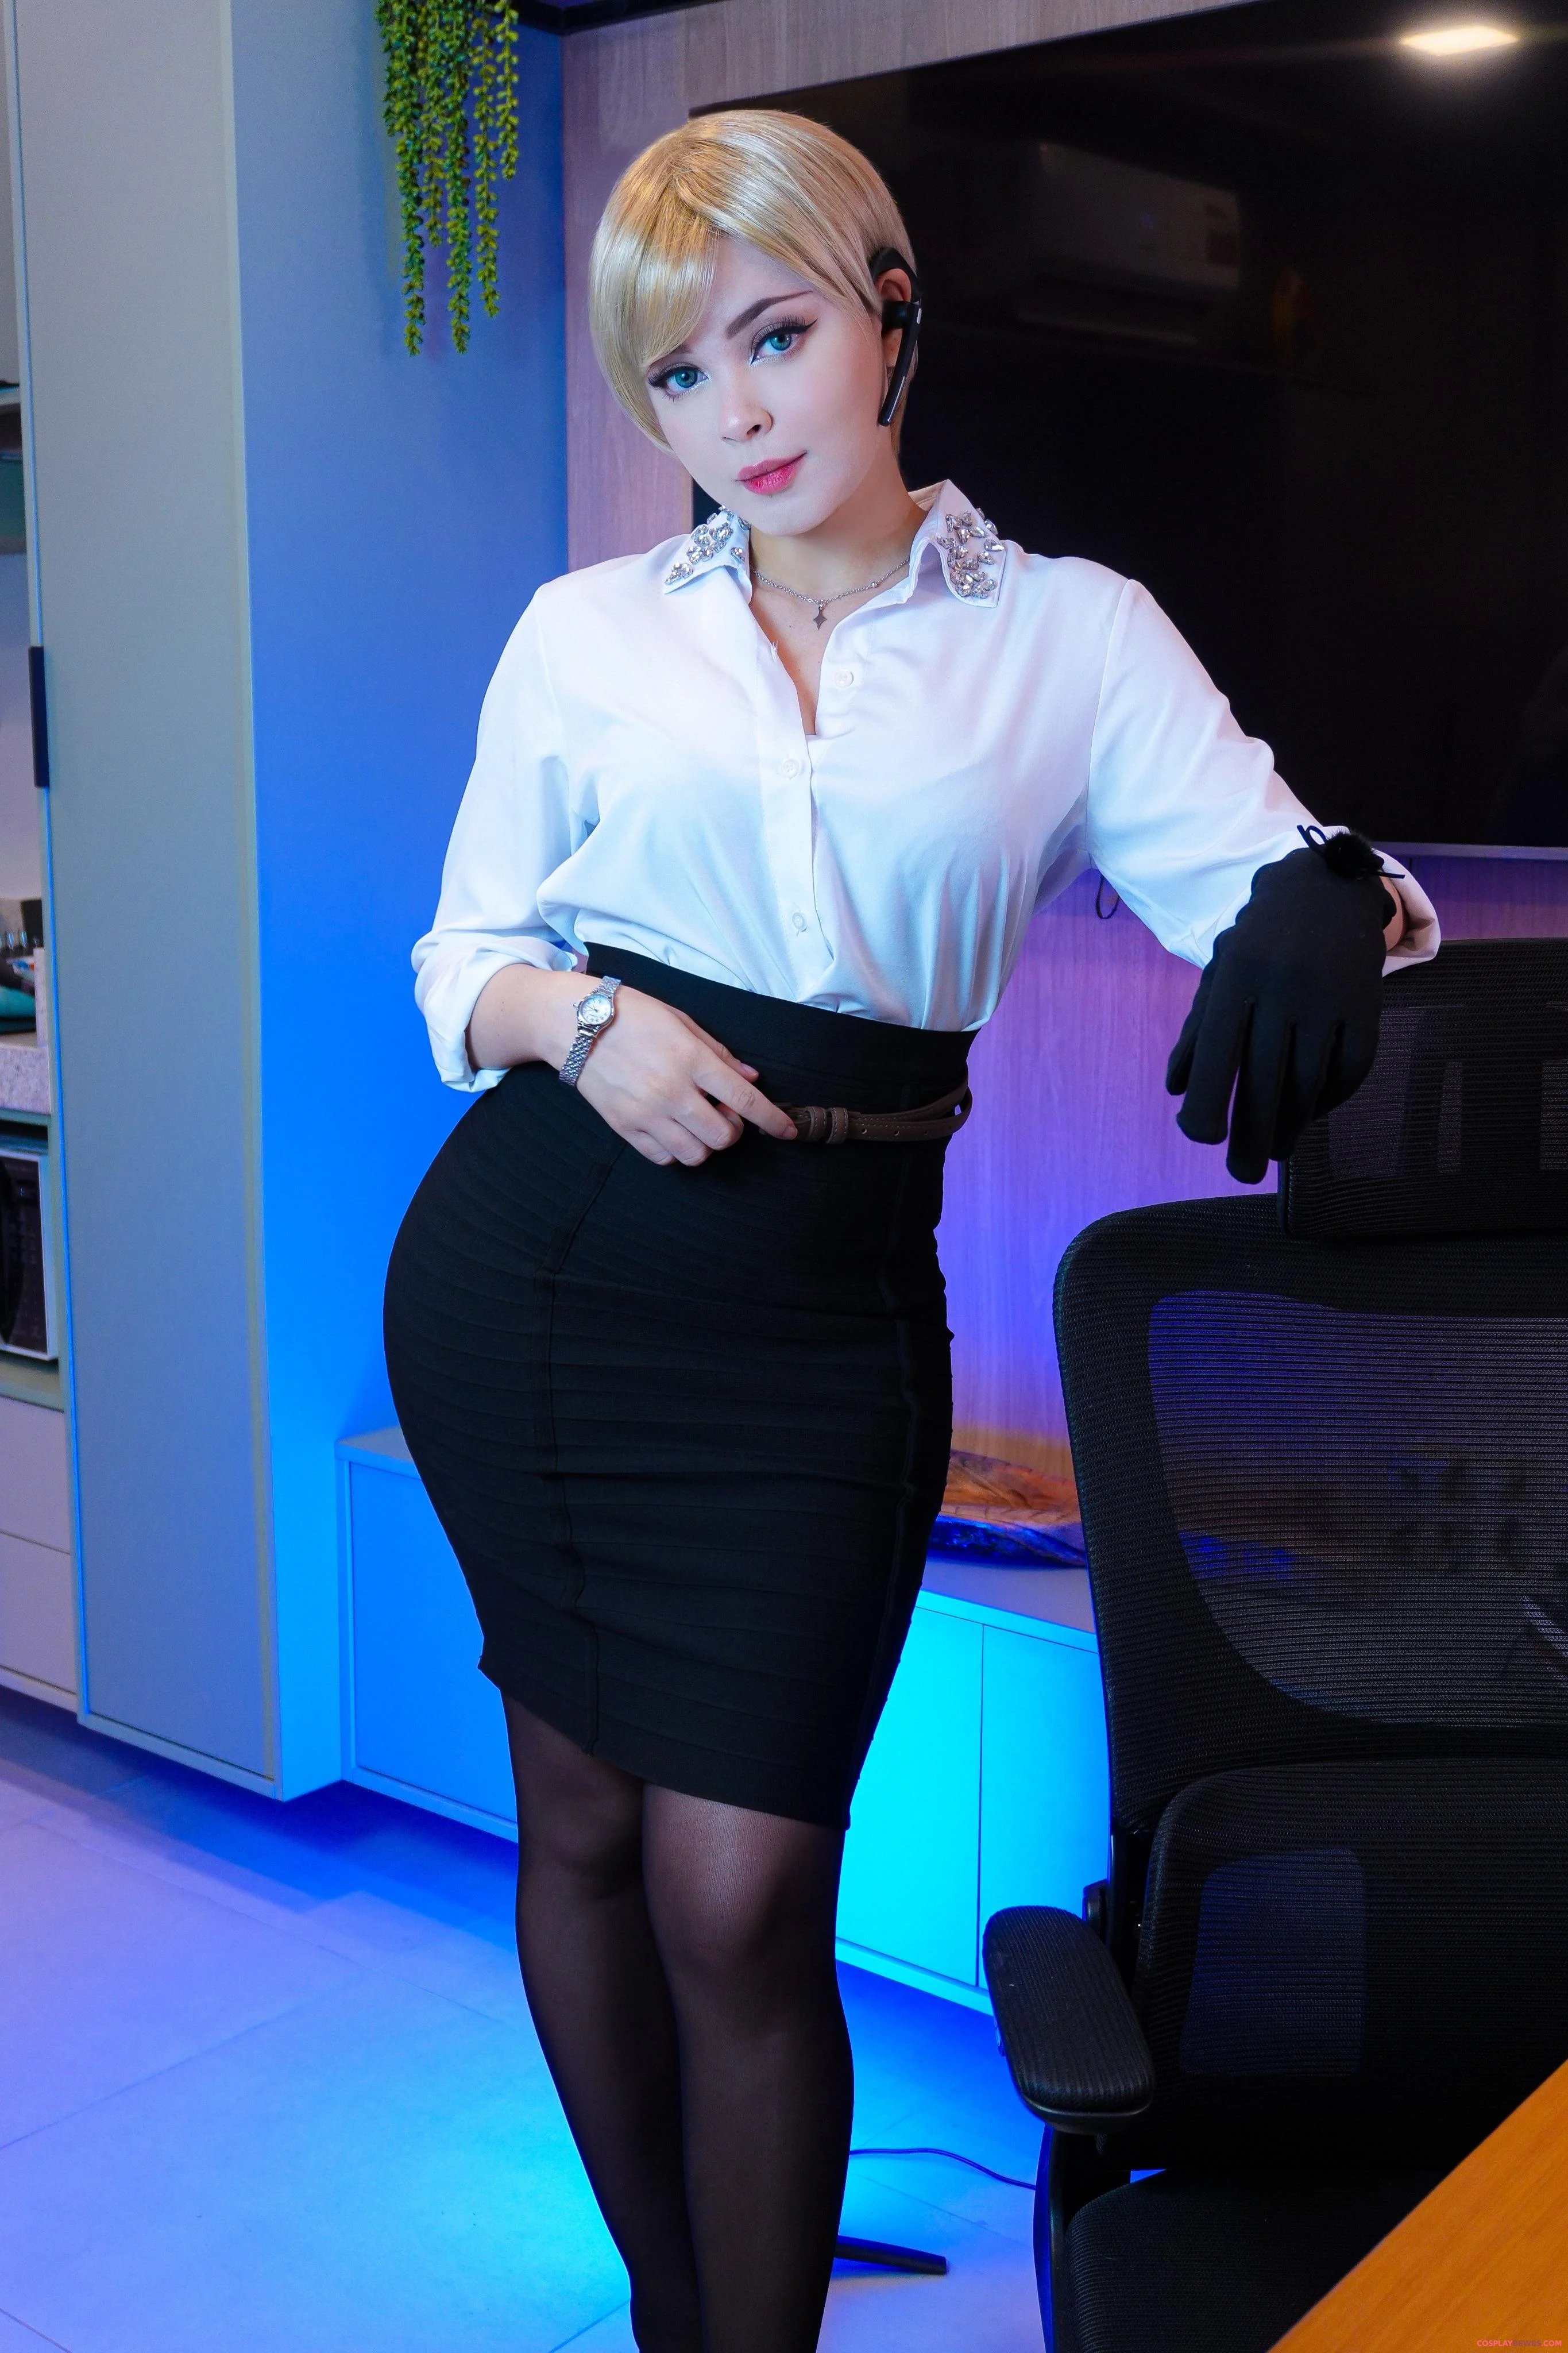
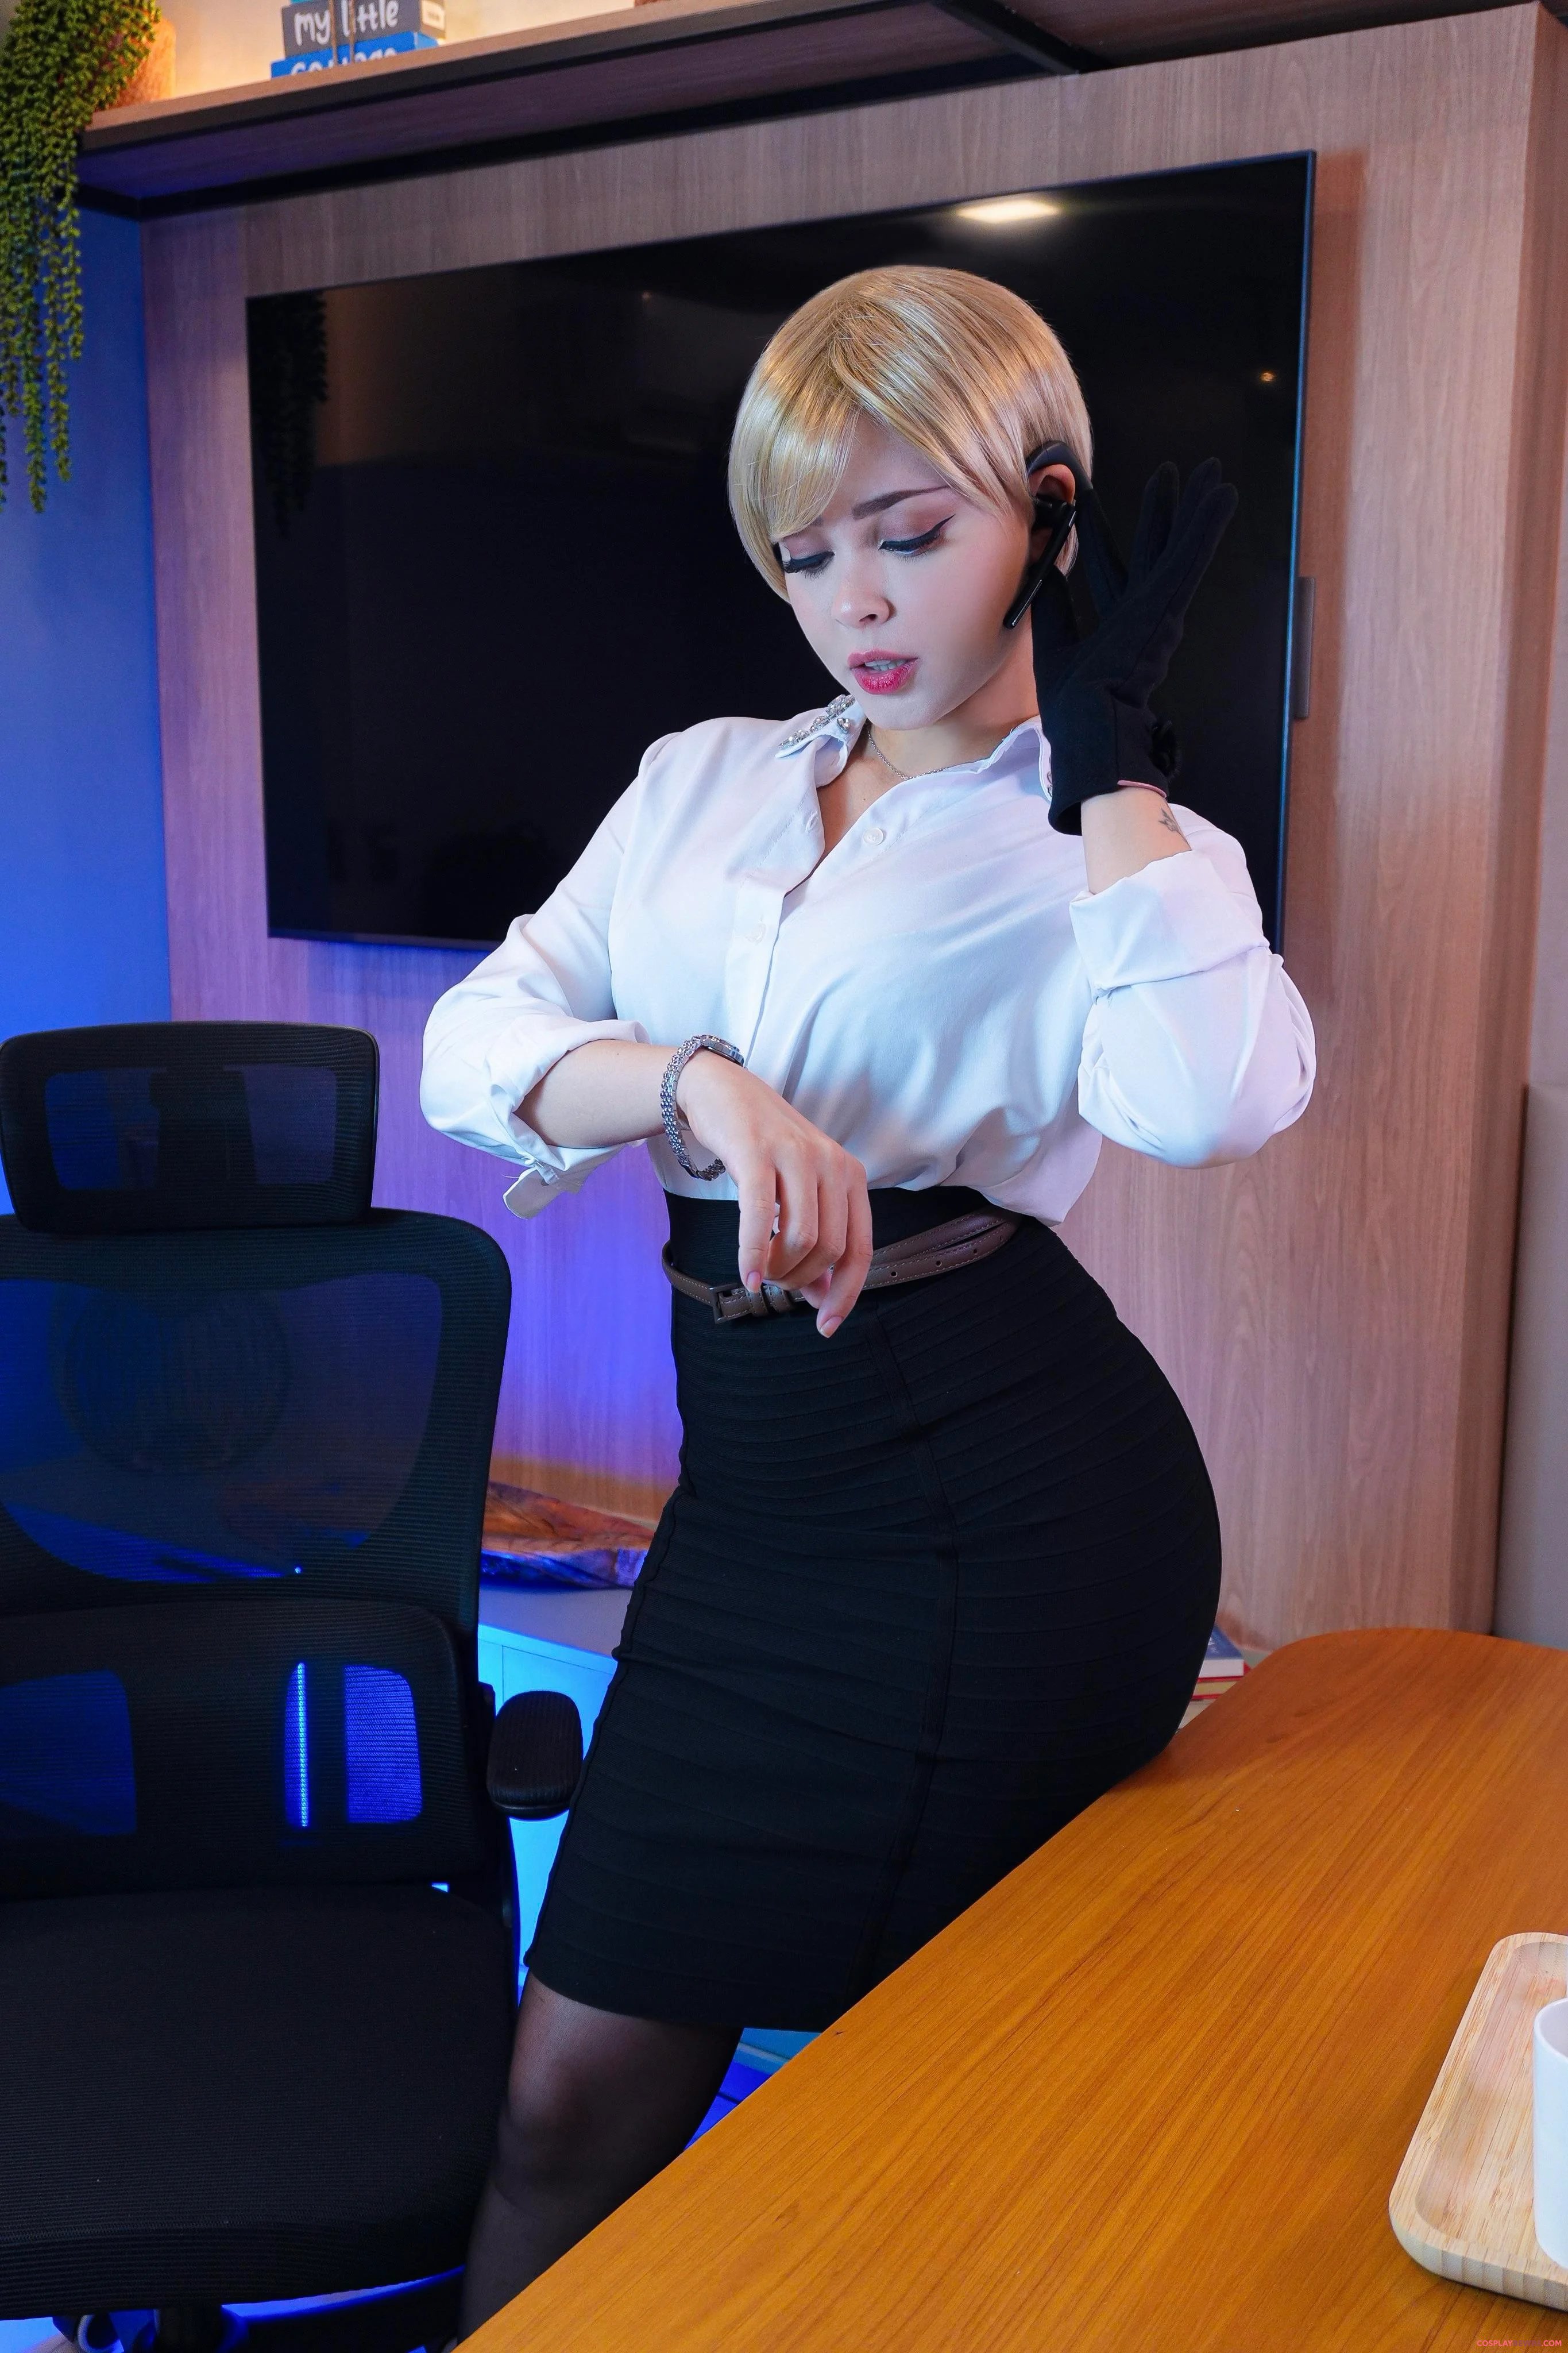
Sherry Birkin (by Biawhite)
SELF
Next Babe
TOP Cosplayers
chanelflores
222
1
YunieSunshine
201
2
StarSthormy
178
3
AriaCosplay
161
4
shiro_konekochan
148
5
Mikomin
148
6
Show All
Keep Exploring
Tasty-Fun3877
Jinx cosplay by (Kitty Amane)
Cosplay For Everyone
Mikomin
My Power Cosplay from Chainsaw Man (Evie Lee Mikomin)
Cosplay For Everyone
BodybuilderSimilar27
N
Cosplay For Everyone
violet_skyeez
Erza Scarlet - Fairy Tail by Amila Reed
Cosplay For Everyone
vilevice
Pitfighter Vi by vilevice
Cosplay For Everyone
Jyu_San
Aerith from Final Fantasy 7 by JyuSan
Cosplay For Everyone
Hidori_Rose
3
My Megumin cosplay from Konosuba (Hidori Rose)
Cosplay For Everyone
laurasummerscosplay
Mary Saotome from Kakegurui crossplay by laurasummerscosplay
Cosplay For Everyone
YunieSunshine
Bridal Bloom Tharja from Fire Emblem by Yuna Kairi
Cosplay For Everyone
shiro_konekochan
My Makima attempt (shiro_konekochan)
Cosplay For Everyone
Shionchawn
3
Mitsuri Kanroji by Shionchawn.cosplays
Cosplay For Everyone
Historical_Trip8302
Frieren from Frieren Beyond Journey's End by Kaori
Cosplay For Everyone
ManekyaYEAH
Tifa LockHart by Manek
Cosplay For Everyone
lilgoblincub
Cortana Cosplay from Halo
Cosplay For Everyone
desultorybungle
Velma scooby do by skyl
Cosplay For Everyone
shiro_konekochan
Hinatsuru (Shiro_Konekochan) [Demon Slayer]
Cosplay For Everyone
Weird-Doughnut7002
Meek and shy Hinata by me! (Shiroktsne)
Cosplay For Everyone
Kuroitsunegf
Kuromi attempt by me (Kuroitsne)
Cosplay For Everyone
Ariabellaz
2
Lara Croft by Ariabellaz
Cosplay For Everyone
DominaElara-
Yor from SpyxFamily by Domina Elara
Cosplay For Everyone
Pretty-slut666
DVa Cosplay by Mya
Cosplay For Everyone
Nyukix
Mavis from Hotel Transilvania by Nyukix
Cosplay For Everyone
Julia7Incredible
2
Tifa Lockhart by Julia7Incredible
Cosplay For Everyone
darkfloraa
Lola Bunny by darkfloraa
Cosplay For Everyone
Lynara-cos
Frieren (Beyond Journey's End) by Lynara_cos
Cosplay For Everyone
SunflowerrSparkle
Morrigan Aensland from Darkstalkers by SunflowerrSparkle
Cosplay For Everyone
Sorbetchan
Kawaii Yumeko by me (Sooyoungg)
Cosplay For Everyone
Embarrassed_Hand_693
Harley Quinn cosplay by Frame
Cosplay For Everyone
didiwabi
2
Tifa Costa del Sol (Didiwabi)
Cosplay For Everyone
mrprofessional2525
5
Ada Wong by bethfiit
Cosplay For Everyone
You May Also Like
Autumn is for lonely walks
softdiffusion
Akanksha Sharma
celebhottie
The pretty redhead neighbor next door that waves hi to you every morning
fapsly
Which one do you like the most?
softdiffusion
Scary and free
softdiffusion
Rachel Zegler
celebhottie
Marissa Miller
celebhottie
Nice outfit
asianbimbos
Emilia Clarke
londonpussy
Alizeh Shah
fapsly
More Sexy Costumes & Roleplay



![Hinatsuru (Shiro_Konekochan) [Demon Slayer]'](https://cdn.cosplaybewbs.com/57860/hinatsuru-shiro_konekochan-demon-slayer-thumbnail.webp)


