Cosplay Bewbs
Live Chat
Cute Asians
Cosplay For Everyone
Big Boobs Cosplay
Cawwsplay
CosplayNation
Drawing
BaldursGate3
mrprofessional2525
Open Chat
Source
Share
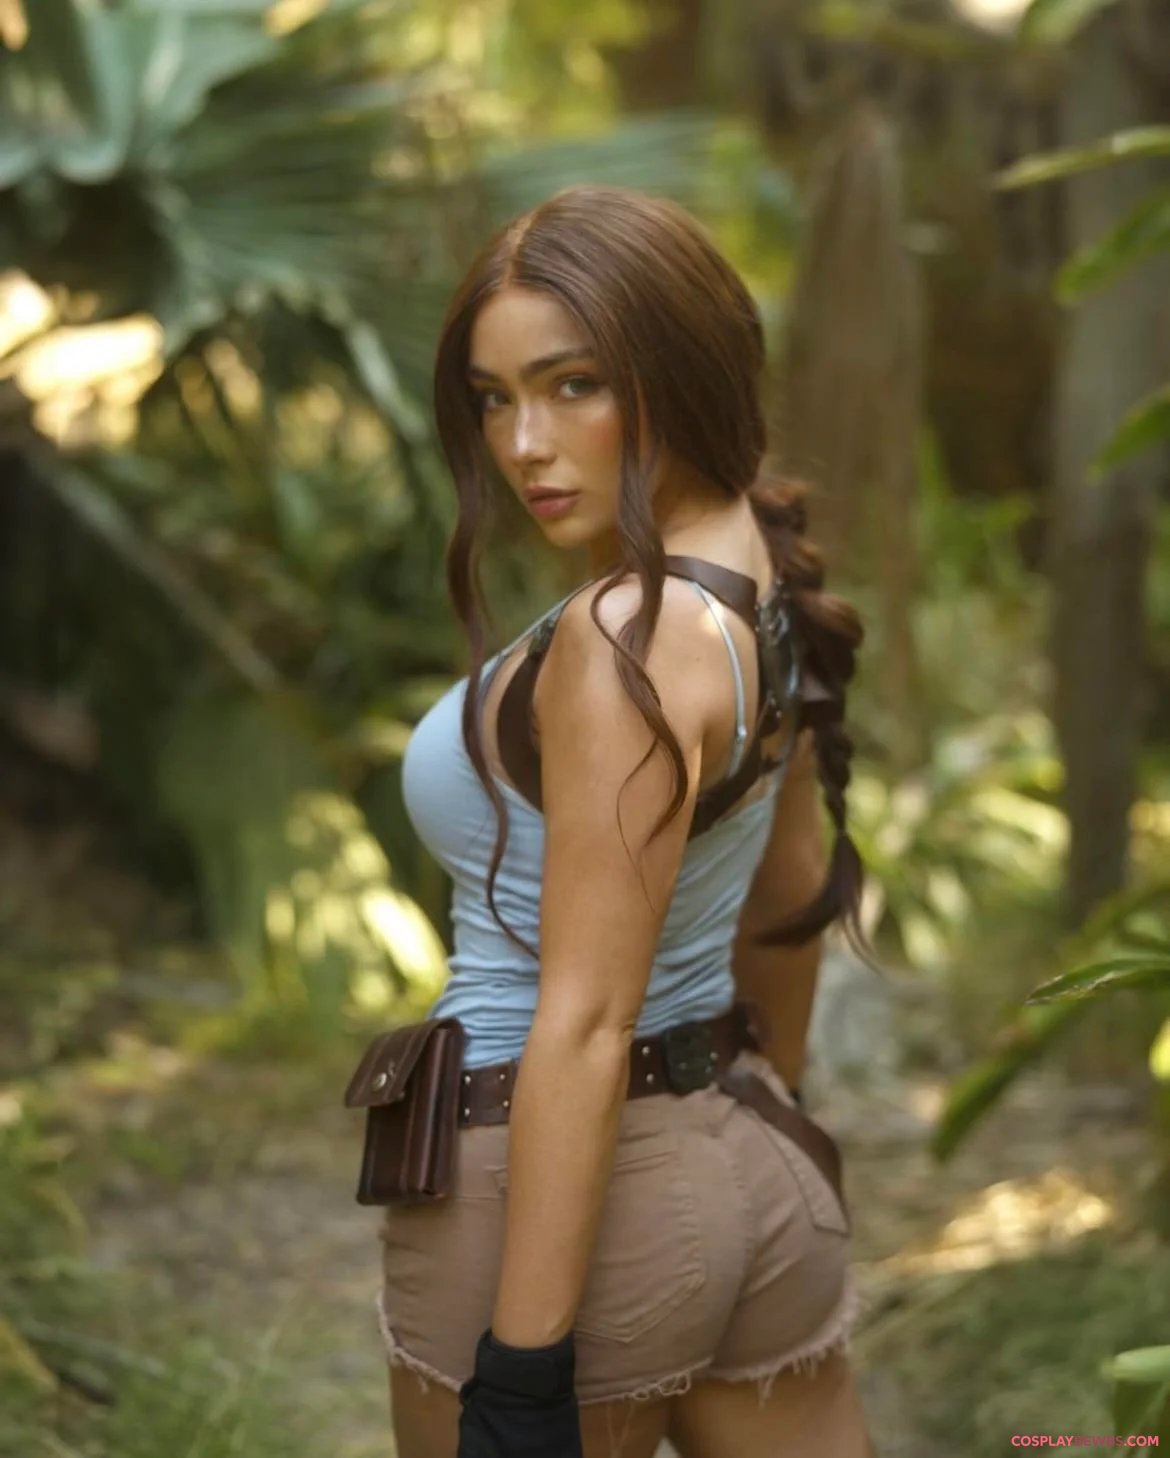
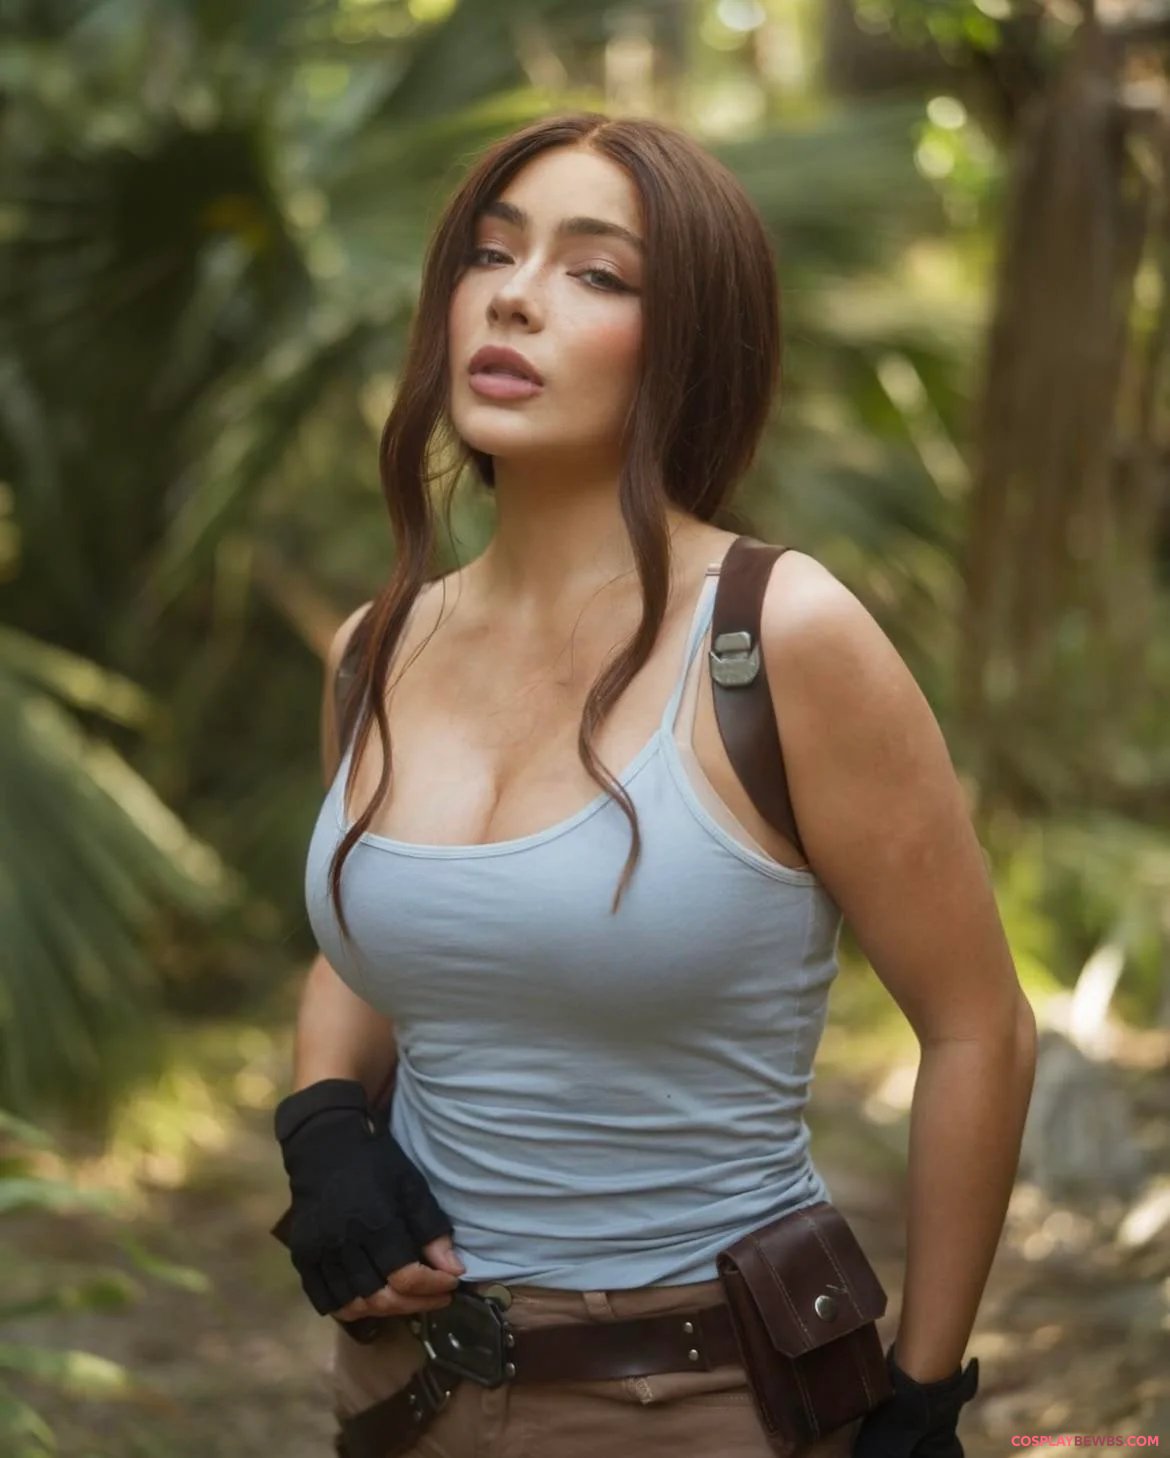
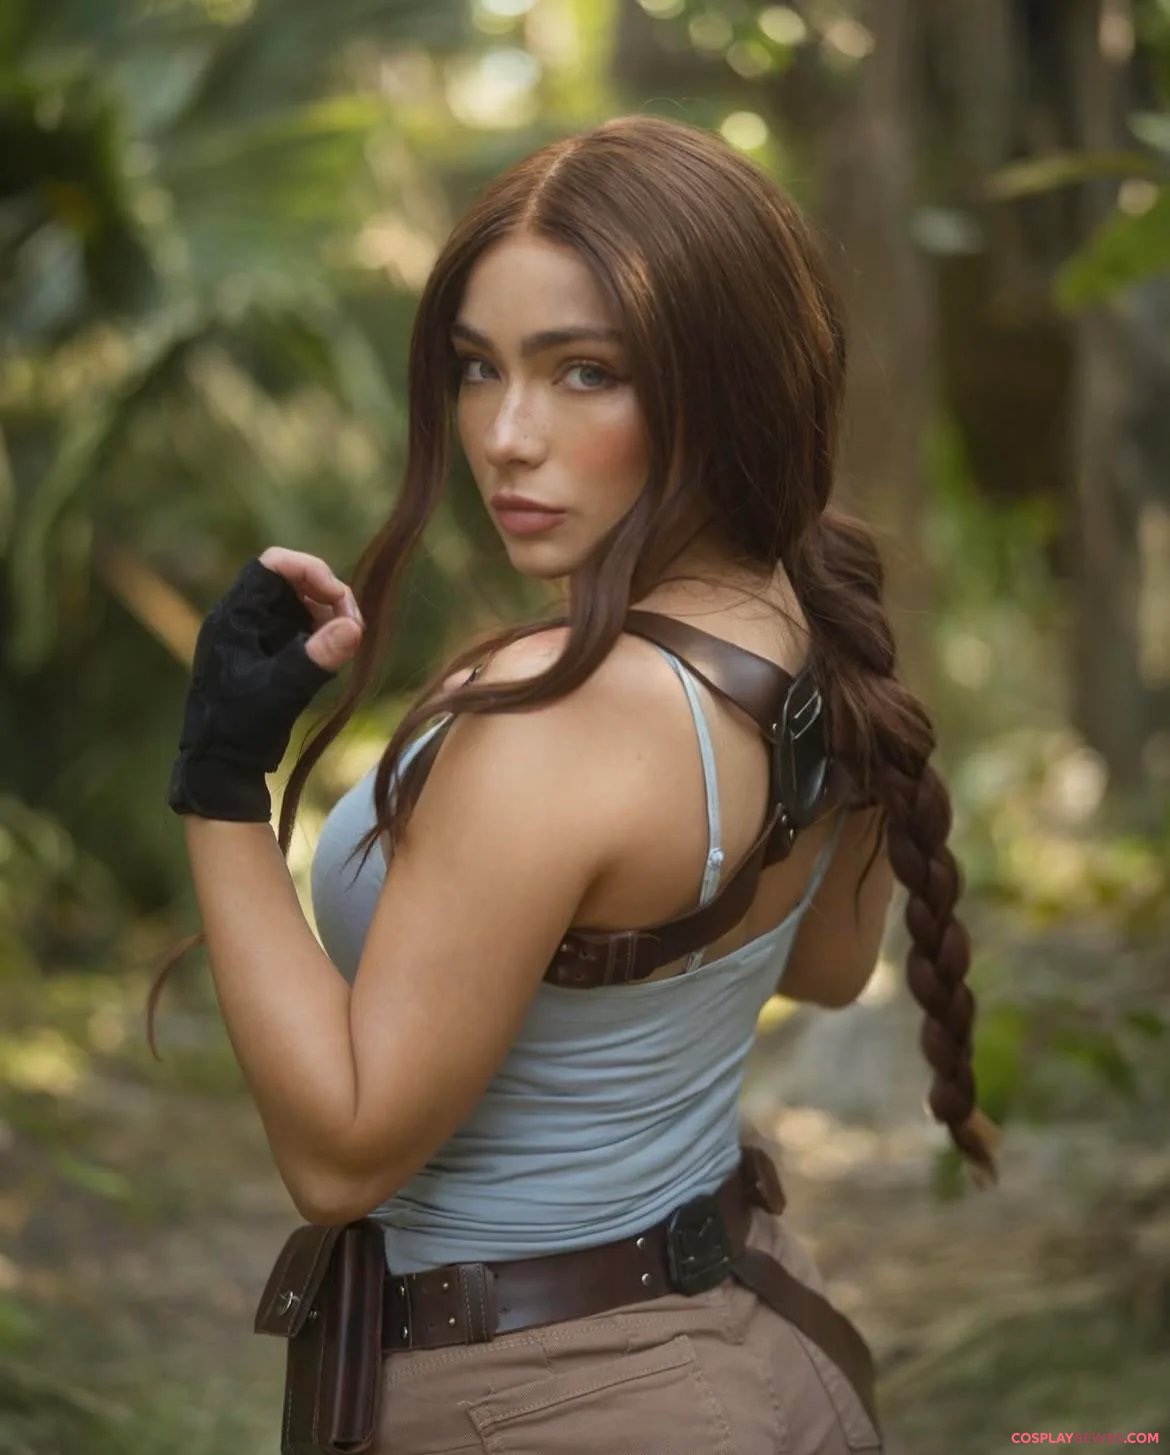
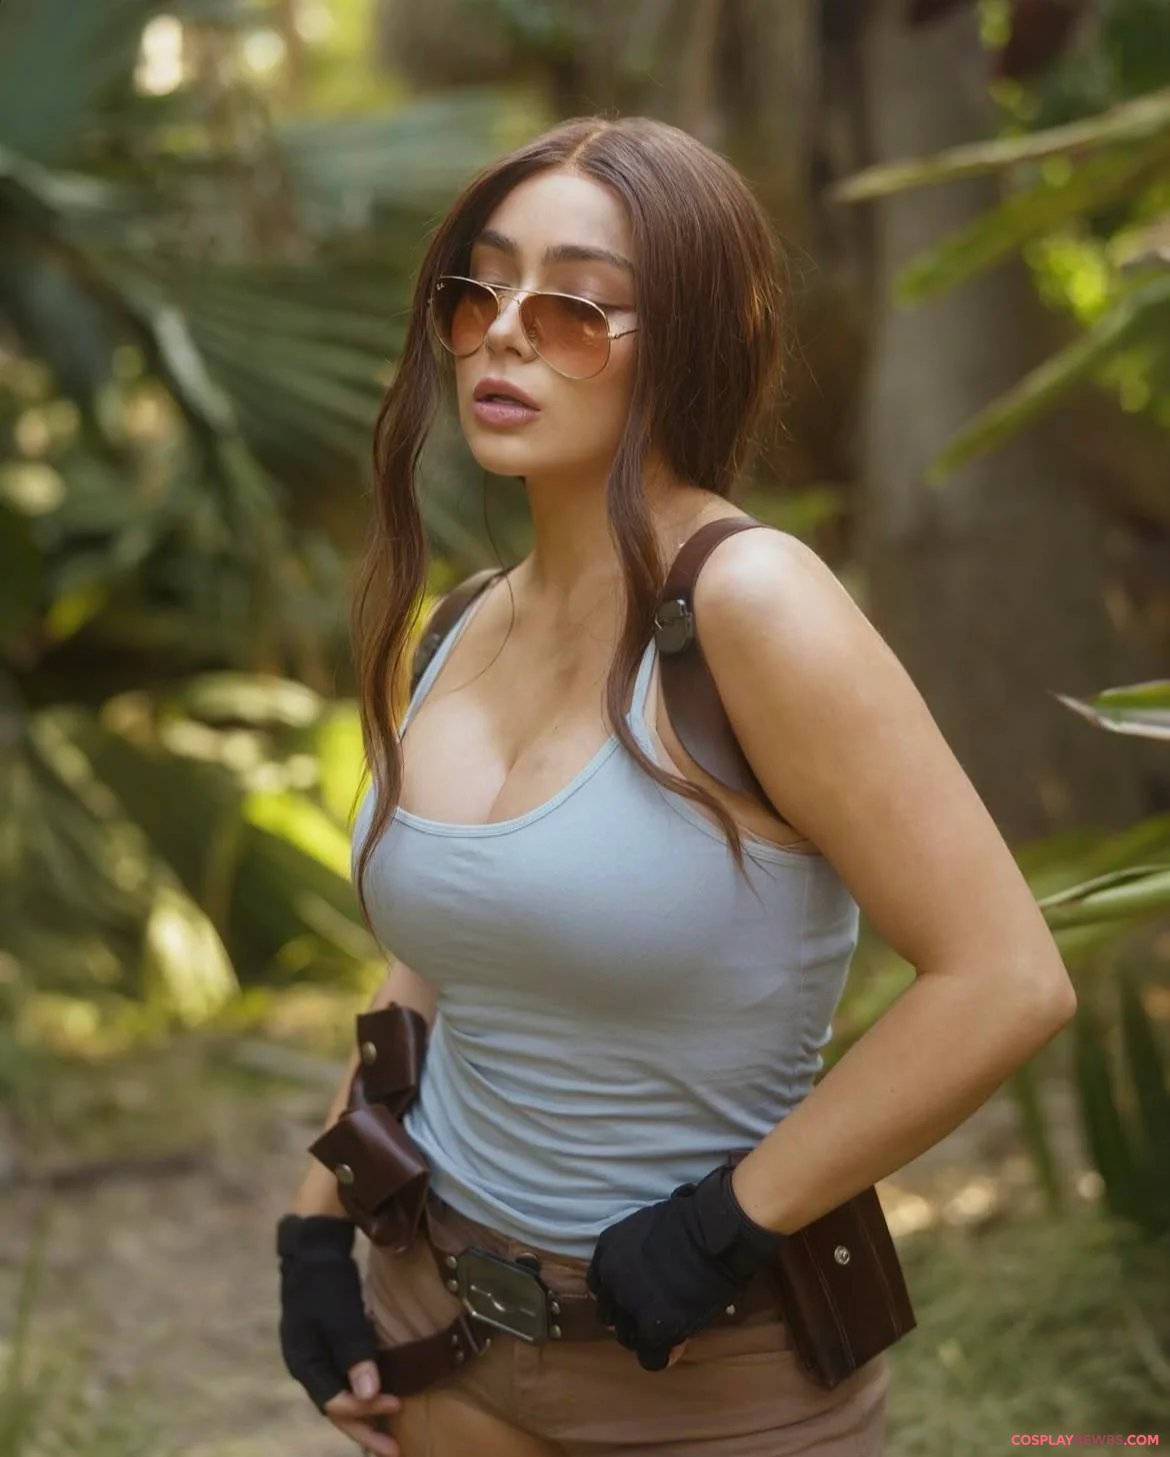
Lara Croft by Caitlin Christine
Next Babe
TOP Cosplayers
chanelflores
222
1
YunieSunshine
201
2
StarSthormy
178
3
AriaCosplay
161
4
shiro_konekochan
148
5
Mikomin
148
6
Show All
Keep Exploring
shiro_konekochan
Yumeko Jabami from Kakegurui: Compulsive Gambler by Shiro_konekochan
Cosplay For Everyone
terribIy
2
Rory Mercury from (Gate) by AngelicTTV
Cosplay For Everyone
StarSthormy
My Zero Two cosplay (StarSthormy)
Cosplay For Everyone
aloeveraiskawaii
Jinx Cosplay (Aloeveraiskawaii)
Cosplay For Everyone
mikomihokina_nsfw
I tried to cosplay Ada Wong! Is it a success? (Mikomi Hokina)
Cosplay For Everyone
YunieSunshine
Tifa (Costa del Sol) from Final Fantasy VII by Yuna Kairi
Cosplay For Everyone
SakariCD
5
Mikus by Sakaricd
Cosplay For Everyone
Ready_Crew7593
Mon casque préfère
Cosplay For Everyone
Chacha_Atcha
My Dress-Up Darling's Rizu-kyun By (BellaSuki)
Cosplay For Everyone
shadory_cos
3
Miyuki Takara [Lucky☆Star] (Shadory)
Cosplay For Everyone
cutieluna_
2
My Gwen cosplay ^^ (cutieluna_)
Cosplay For Everyone
itss_me_jana
4
Kitana from Mortal Kombat Cosplay by clarawyy
Cosplay For Everyone
statffor
Okarun & Momo dandadan (cosplay by statffor & lizzie_whistle)
Cosplay For Everyone
FunnyBonny
Bayonetta by Me <3
Cosplay For Everyone
ChloePowersIRL
Supergirl by ChloePowersIRL
Cosplay For Everyone
KAWAllIRIS
Aerith Gainsborough from Final Fantasy by KAWAllIRIS
Cosplay For Everyone
FlirtyxFeline
4
Gear 5 Luffy cosplay by (Angie) [One Piece]
Cosplay For Everyone
NyxYien01
Kitana from Mortal Kombat by me (_.xennaa_)
Cosplay For Everyone
ImMirelle
Velma Dinkley from immirelle [Scooby-Doo]
Cosplay For Everyone
Julia7Incredible
Starlight by Julia7Incredible
Cosplay For Everyone
StarSthormy
Ganyu from Genshin Impact by StarSthormy
Cosplay For Everyone
Belphussy
2
Lauma by Minya.jpg
Cosplay For Everyone
nobodyamazin
8
Master Chief from Halo by Chunky Lad dual wielding Plasma Rifles! Getting ready for PAX West!
Cosplay For Everyone
CarryKey
Aerith [Final Fantasy VII] by Carry Key
Cosplay For Everyone
cyber_neko1
3
Mon cosplay de Neon [valorant] par (cyber_neko1)
Cosplay For Everyone
DeewBubbles
Esdeath [Akame ga Kill] by (DeewBubbles)
Cosplay For Everyone
InkRuby
Lara Croft by Ruby Ink
Cosplay For Everyone
Derpasawr_Cosplay
Misty (Pokémon) by Derpasawr
Cosplay For Everyone
Usatame
Saber Alter from Fate GO by Usatame
Cosplay For Everyone
TwinkleJellybeanerrr
Broly by Jade Miura
Cosplay For Everyone
You May Also Like
I'd follow her all over the house
slut66
James Caan & Arnold Schwarzenegger at the Playboy Mansion in the 70s
celebhottie
Leggy blonde
asianbimbos
Alizeh Shah
fapsly
Sydney Sweeney
celebhottie
Hilary Duff
celebhottie
Mom wouldn’t let me go out like this, she said I look like trouble
slut66
I always feel really gorgeous
slut66
Hilde van der Heul
celebhottie
Would you actually date me?
slut66
More Sexy Costumes & Roleplay



![Miyuki Takara [Lucky☆Star] (Shadory)'](https://cdn.cosplaybewbs.com/22074/miyuki-takara-luckystar-shadory-thumbnail.webp)


![Gear 5 Luffy cosplay by (Angie) [One Piece]'](https://cdn.cosplaybewbs.com/22685/gear-5-luffy-cosplay-by-angie-one-piece-thumbnail.webp)


![Velma Dinkley from immirelle [Scooby-Doo]'](https://cdn.cosplaybewbs.com/44050/velma-dinkley-from-immirelle-scooby-doo-thumbnail.webp)


![Aerith [Final Fantasy VII] by Carry Key'](https://cdn.cosplaybewbs.com/54834/aerith-final-fantasy-vii-by-carry-key-thumbnail.webp)

![Mon cosplay de Neon [valorant] par (cyber_neko1)'](https://cdn.cosplaybewbs.com/61363/mon-cosplay-de-neon-valorant-par-cyber_neko1-thumbnail.webp)

![Esdeath [Akame ga Kill] by (DeewBubbles)'](https://cdn.cosplaybewbs.com/51051/esdeath-akame-ga-kill-by-deewbubbles-thumbnail.webp)


