Cosplay Bewbs
Live Chat
Cute Asians
Cosplay For Everyone
Big Boobs Cosplay
Cawwsplay
CosplayNation
Drawing
BaldursGate3
Sophia_Cosplay
Open Chat
Source
Share
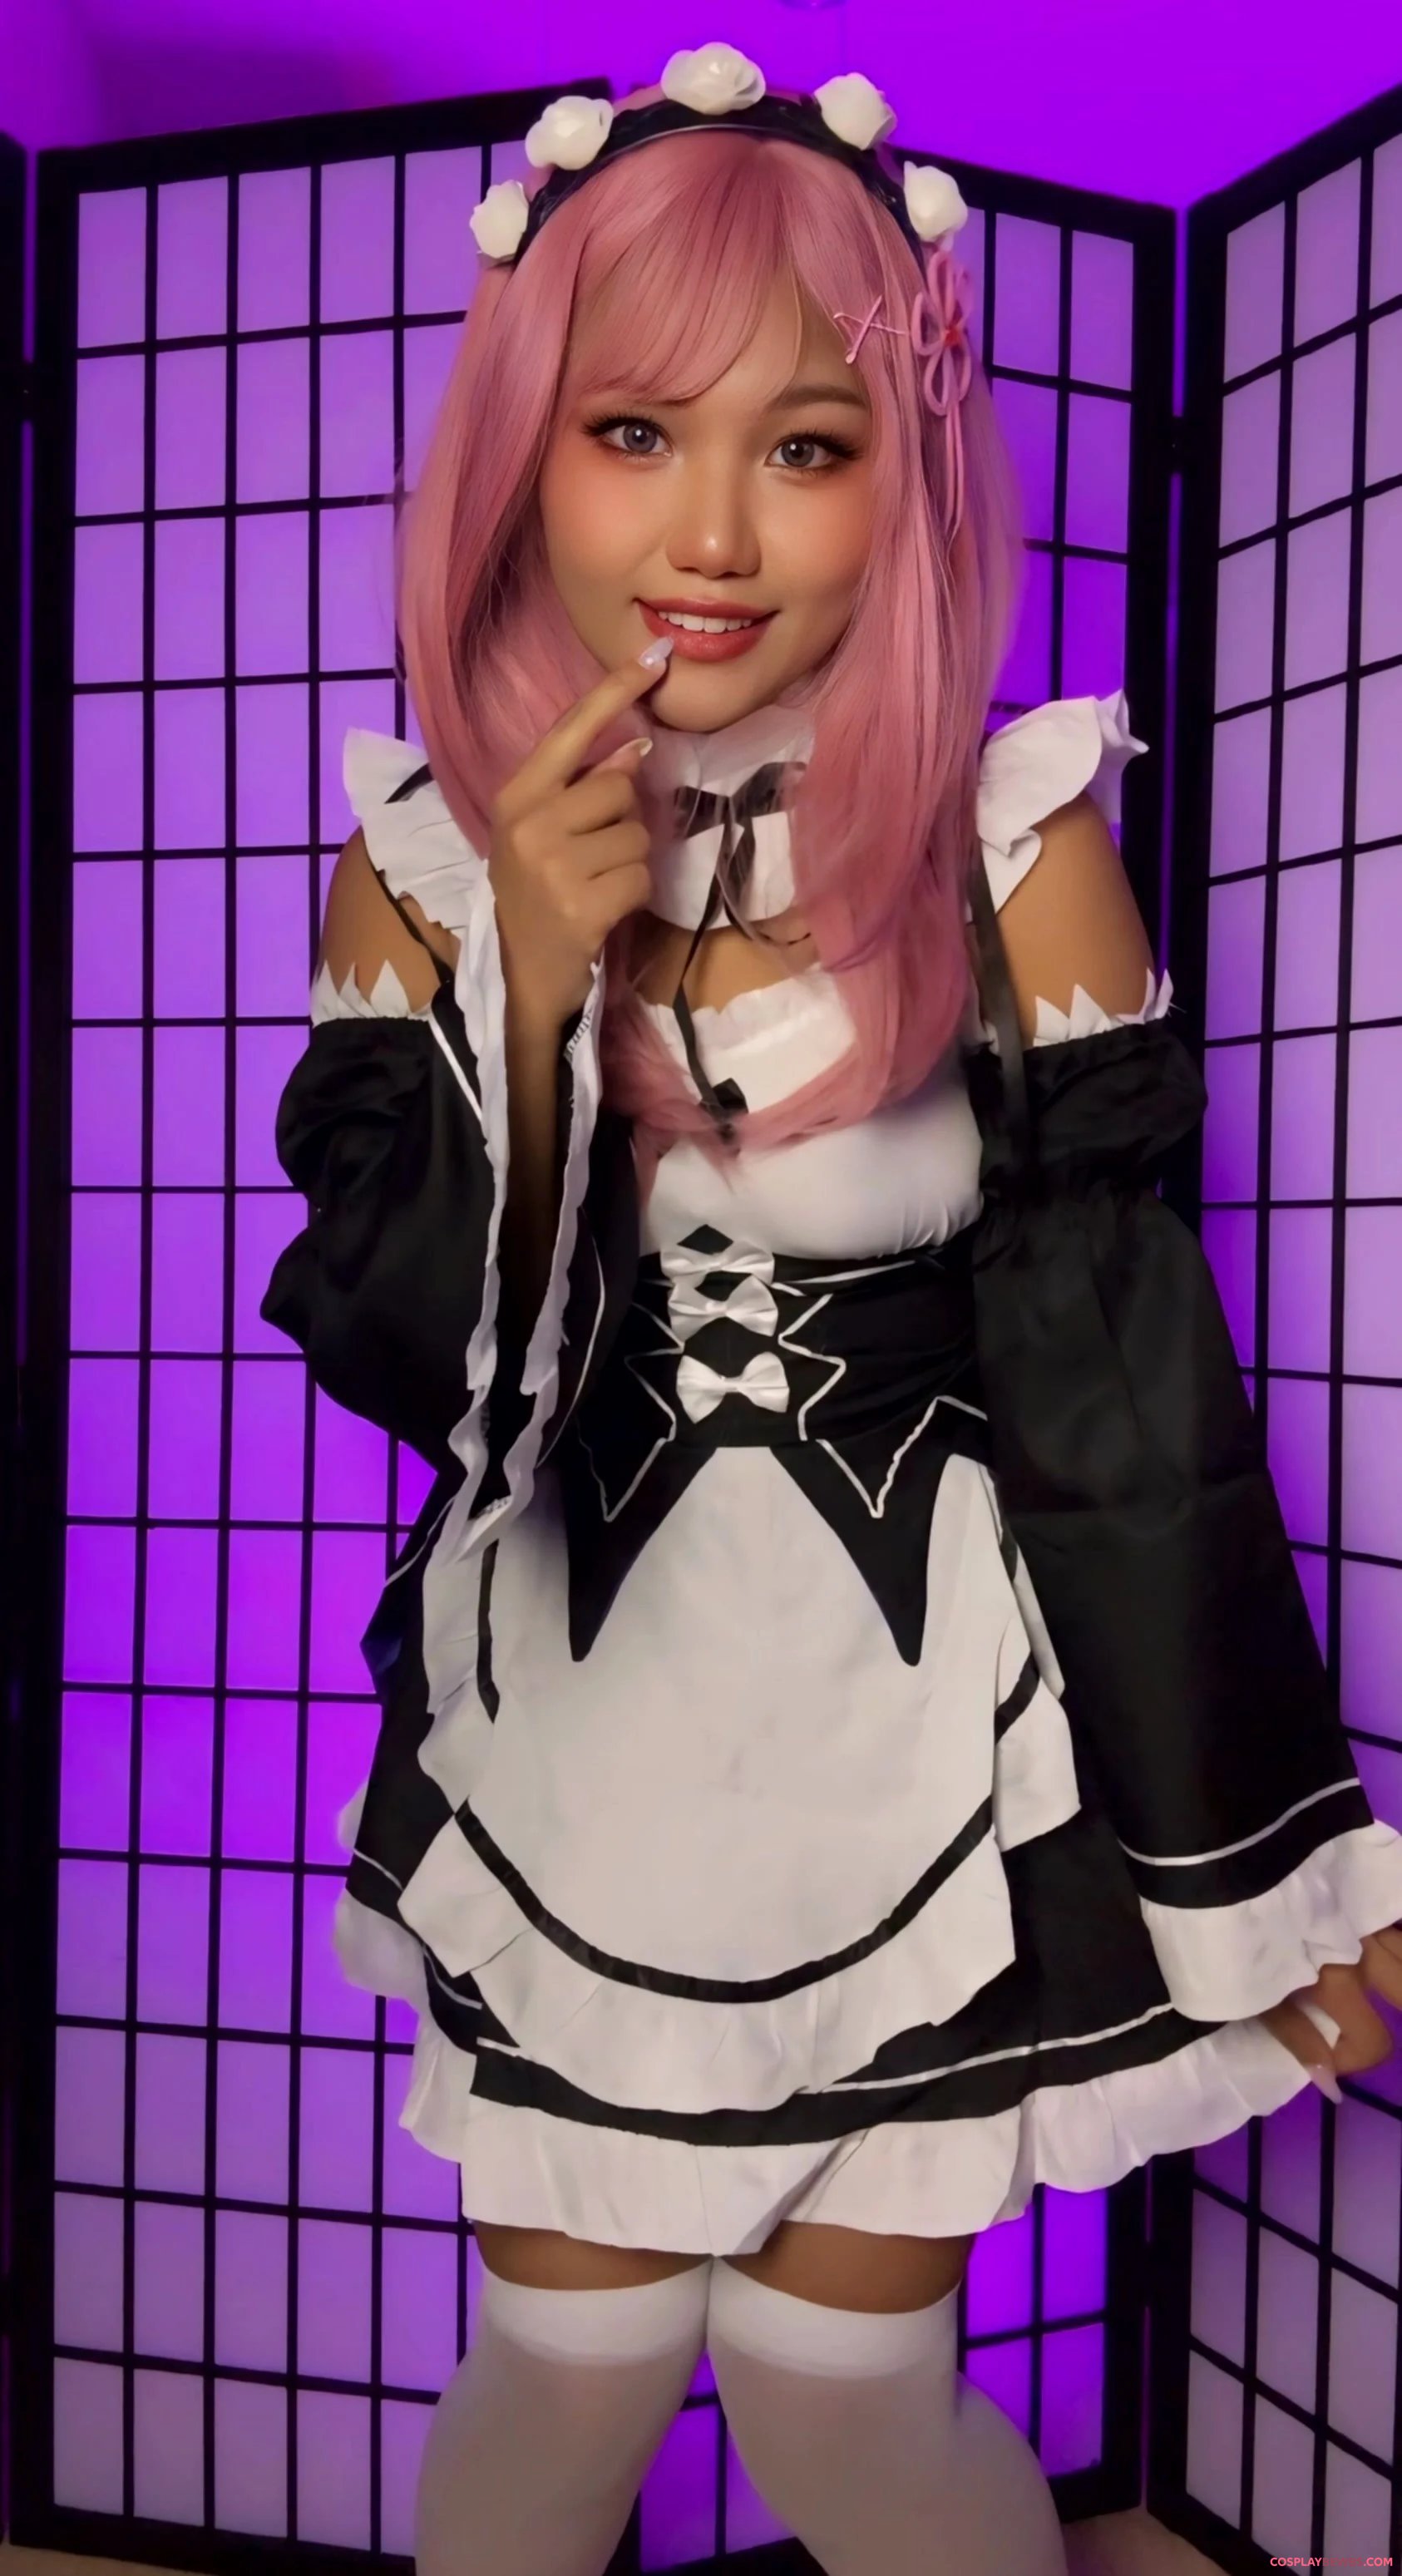
Ram from Re:Zero by Sophia
Next Babe
TOP Cosplayers
chanelflores
222
1
YunieSunshine
201
2
StarSthormy
178
3
AriaCosplay
161
4
shiro_konekochan
148
5
Mikomin
148
6
Show All
Keep Exploring
cozygal_reddit
"Umbreon + Shiny Umbreon" from "Pokemon" by "cozygal.life" + "kouki_kouta25"
Cosplay For Everyone
LunarLust1
Frieren cosplay by Luna
Cosplay For Everyone
Mikomin
2
Ada Wong Cosplay by me, Evie Lee Mikomin
Cosplay For Everyone
Gentle0taku
Hu Tao from Genshin Impact By Me (Yuna)
Cosplay For Everyone
jassinsub
3
Lord of chapter tyberos the red wake, Dreadnougt style chavín(@anderos insta), Titan Imperator - Musuljas
Cosplay For Everyone
sofithesilky
2
Mitsuri with Matcha from Demon Slayer
Cosplay For Everyone
its_Gloom
Raven - Teen Titans (Gloom)
Cosplay For Everyone
kuropuppi
Kuroitsune cosplaying Makima
Cosplay For Everyone
Biancakariina
Buggy cosplay from One Piece (Biancakariina)
Cosplay For Everyone
paxior
5
Sparkle [Honkai: Star Rail] (giovanna_queen
Cosplay For Everyone
SheyTheGay
2
Fem!Gnar Cosplay from League Of Legends by SheyTheGay
Cosplay For Everyone
Old-Practice7625
Ada wong by me (Tanukiicos)
Cosplay For Everyone
Lady_Albedo_96
Mortal Kombat 9 Mileena (lady_albedo_96) [Mortal Kombat]
Cosplay For Everyone
KumasukiCosplay
2
Aura from Fortnite by KumasukiCosplay
Cosplay For Everyone
cairantas4y
My Finn Cosplay from Adventure Time
Cosplay For Everyone
Mialoris
2
Inosuke Girl From Demon Salyer by Mialoris
Cosplay For Everyone
gabanviii
Vi (Arcane) by Mikomi Hokina
Cosplay For Everyone
Donnaloli
Lucy by Donnami
Cosplay For Everyone
alefil14
Nejire Hado from My Hero Academy (Kuroitsune)
Cosplay For Everyone
doubledaced
2
Look at new Coco costume I made by myself!
Cosplay For Everyone
Khadgar2003
5
Khadgar Cosplay Movie
Cosplay For Everyone
aloeveraiiskawaii
My Nobara attempt (Aloeveraiskawaii)
Cosplay For Everyone
ShyVelvetRose
Enid Sinclair by ShyVelvetRose
Cosplay For Everyone
ChereNoble
Jennifer Check by Chere Noble
Cosplay For Everyone
anayami17
Furina Cosplay By Anayami
Cosplay For Everyone
Greedy_Hurry_7029
Rem (Re:zero) done by urannie!! i hope you like it
Cosplay For Everyone
BakaFuwa
Izutsumi from Dungeon Meshi cosplay by (BakaFuwa)
Cosplay For Everyone
TwinkleJellybeanerrr
Ace By Jade
Cosplay For Everyone
saNtyPizarro
LadyDusha
Cosplay For Everyone
heartyburty
8
A2 YoRHa cosplay by heartyburty
Cosplay For Everyone
You May Also Like
Alison King
londonpussy
Dua Lipa
celebhottie
Anita Timofeyev
sexyfitbabes
😼
asianbimbos
I'd follow her all over the house
slut66
Are you smashing or passing me? 🙈
fapsly
Erin James
sexyfitbabes
Emilia Clarke
londonpussy
Elizabeth Masucci
celebhottie
Which view you liked the most. Scarlett johansson / Elizabeth olsen / Brie larson
celebhottie
More Sexy Costumes & Roleplay


![Sparkle [Honkai: Star Rail] (giovanna_queen'](https://cdn.cosplaybewbs.com/32026/sparkle-honkai-star-rail-giovanna_queen-thumbnail.webp)


![Mortal Kombat 9 Mileena (lady_albedo_96) [Mortal Kombat]'](https://cdn.cosplaybewbs.com/22855/mortal-kombat-9-mileena-lady_albedo_96-mortal-kombat-thumbnail.webp)


